
 Okay, so...why not just a regular unboxing article? To be perfectly honest, it's because GMort covers most of the same games we do, and his Unboxed series is just too good to try to follow. Seriously, go read them. On top of that, Johan also does an amazing job with unboxings on his blog as well. Instead, I wanted to take a slightly different track, and discuss models going literally from sprue to table ready. Today we're going to tackle the Mekkus faction from Bombshell Miniature's Counterblast game.
Counterblast is a game set in an alternative 50's, where the end of World War Two and the birth of the Atomic Age lead a galaxy-spanning organization to finally contact humanity and usher us warmly into the Space Age. The game has all the markings of classic Pulp Science Fiction: aliens that are brains with tentacles, a fairly Amazonian race bent on galactic conquest, bubble helmeted heroes and heroines project the good folk of the Milky Way, and heartless artificial life forms programmed for the destruction of all living things. I've been feeling a bit heartless recently, so decided to paint these guys up.
The basics of the Mekkus Box Set we already covering in a nice little unboxing article, but that doesn't get a model ready to play. Oh no, for that I needed paint, brushes, and inspiration. And for inspirtation, I went to the most terrifying robot of my childhood.
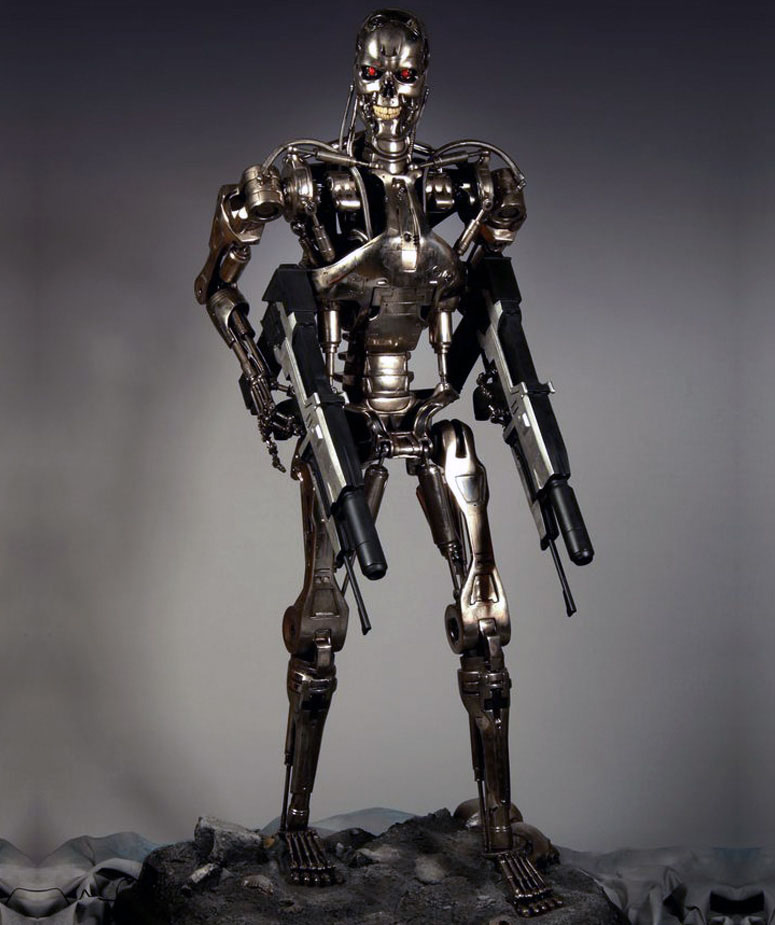
Oh, you'd expect it to be this guy, right? Well, maybe it should have been... but see, this guy you could beat. Humanity won against a whole army of them, remember? No, I wanted a truly unstoppable, truly diabolical killing machine... and for that you have to go to Disney.

 So, my intention was to show you a whole lot of midstage pictures in this article: after all that's the "from box to table" bit, right? Except the card that has them has disappeared... so we'll work with what we've got. For now, this is what you get: primed, and brushed silver. Yay robots!
There were a couple design changes I made on these guys during the build. First of all, you'll see I did away with the metal stands for the flyers that I liked so much, and went with pins instead. The reason was I wanted more height- the risers looked great but left everything hovering at about head height, and I wanted the image of more soaring through the skies for these guys. The second one you can't see here, but I'll show you in an upcoming image. I did not glue the turrets down on the the ground units. I decided (with some convincing from Ali) that it was far better to allow them to turn free to "track" targets. However, I didn't want to risk the paint scraping away on the contact points between turret and hull. To resolve this, small cuttings of paperclip were glued in an X fashion inside the chassis. This allowed for a little separation between the two, without compromising the artistic appearance.
Another point of note are the weapon systems. Patrick Keith did an excellent job of making sure all the weapon systems are interchangeable- making life easier for both him and us. This means is you want you can order just about anything in the range with just about any legal weapon configuration and it doesn't cost him any more molds- clever that. Also, it means if you're like me and want to have both tons of options and perfectly WYSIWYG forces, this is a great time and place for magnetic assemblies. You can either put a magnet on the weapon mounting "stump" and one in the weapon, and then pray you got all your polarities going the same way... or you can drill into the stump and mount a clipped off nail with a small head there, and use the magnet in the weapon. The nail head will give a large enough contact to keep things where you wanted. Or, really, you could use blue-tac. Seriously, if you put enough paint on them they stay without any other assistance anyway. The fit is good enough that a little temporary adhesive like blue-tac (or Elmer's adhesive of the orange variety) will give enough additional friction to keep everything in place.
 |
| Eradicate? Eradicate? |
The red tone was going to be integral to shaping the look of the faction. Beginning with a nice deep Army Painter Dragon Red, I base coated all the armored plates, and highlighted up through their Pure Red in layers. This gave me a shaped color I was happy with, that allowed for highlights while still being decided red in color.
 |
| Our heroic GDF seem a little outnumbered... |
Other than that, honestly, there wasn't a whole lot that had to be done on this one. some OSL from the energy weapons, a little more for potential spotlights, and the job's done. All that was left was to finish the bases. While I considered a lot of fancier options, in the end I decided they were striding over a planet they had recently cleansed... and that meant burn out rubble. Okay, maybe the T-100 did make it in just a little bit after all.


And that gives you a look at all of the models I have for the Mekkus to date. A sleek bunch of killing machines ready to organic life forms form the horror of their continued existence. Time to see how they do against TGC's Neiren!

Oh, by the way, if you want to see some serious Counterblast Campaign action, make sure you go and vote for it on the 2015 Campaign Contest. You might even with yourself a faction box of your very own!
See you on the other side of the table,
The Second Class Elitist.
Great article. Has me rethinking my painting scheme for my Mekkus AND my facing when I do get them painted up.
ReplyDeleteExperiment and see which you like best. Good part about the Aggressors is if you paint them right, you can use them forwards or backwards. What paint scheme were you thinking about? There's a lot of great choices.
DeleteAwesome work on the red! It's a terribly tricky color to get to come out that intense. Your take on the Mekkus definitely gives them an aggressive feel!
ReplyDeleteThank you sir! If you want to see them in action, don't forget to vote! I am very pleased with them, in that they came out looking very much like my intended muse for them. I'm really looking forward to seeing what they've got!
Delete