
Since this was about our second game ever, we expected we'd get some things wrong (and we did), but it was still an enjoyable game, so I figured I'd share the fun and hopefully get some feedback as well. We decided to play the Encroachment mission.

Playing at 700 points (or there abouts), we set up with the following lists:
2CE's UCM:
Standard Army
Skirmish: 689/700 points
Encroachment
Standard Roster [689/700 pts]
Armored Formation [368 pts]
Sabre Squad: Sabre(Lieutenant), 2x Sabre, Condor [202 pts]
Rapier Squad: 3x Rapier, Condor [166 pts]
Legionnaire Corps [219 pts]
Legionnaires: 3x Legionnaires, Condor, 2x Bear [141 pts]
^ Sharing ^ Legionnaires: 3x Legionnaires [78 pts]
Expeditionary Group [102 pts]
Wolverine Squad: 4x Wolverine A, 2x Raven B [102 pts]
Merek's Shaltari:
Standard Army
Skirmish: 687/700 points
Encroachment
Standard Roster [687/700 pts]
Gate Group [165 pts]
Eden Gates: Eden [45 pts]
Eden Gates: Eden [45 pts]
Eden Gates: Eden [45 pts]
Haven: Haven [15 pts]
Haven: Haven [15 pts]
Court of Elders [145 pts]
Coyote: Coyote(Shaman) [145 pts]
Swordpoint [114 pts]
Tomahawk Squad: 3x Tomahawk [114 pts]
Warrior Clan [128 pts]
Braves: 2x Braves [64 pts]
Braves: 2x Braves [64 pts]
Warfist [135 pts]
Kukri Squad: 3x Kukri [135 pts]
We roll for initiative, and I win the direct deployment roll. (We realized that I couldn't actually buy the Lieutenant. We decided my penalty, rather than trying to add to the list, would be I only had an overpriced Sergeant- which I also couldn't have bought, but it worked for us.) The only thing I place on the table is my Wolverines, and then promptly forget that they have Raven dropships paid for. Not that those two models probably affected the game result, but I need to remember to place my models in the future. Merek places his Coyote Warstrider on the table, and we go into turn one.

His gate on the left side of the table moves forward, then drops out his Kukri unit onto the table, advanced into a good position to control air traffic in subsequent turns.
 I activate my Armor battlegroup, moving the Rapiers up towards midfield (hoping to get shots on his gates) while flanking the far left side of the table with my Saber unit Condor (which is concealed, because hiding my only painted model form the camera is smart.)

My Wolverine roll up a bit, his gate with his Infantry come up the right side, and my Infantry/Bear carrying Condor also slides up the far right. That finishes out Turn 1, with everyone getting into positions for Turn Two action.

Turn two, Merek wins the Initiative, and activates his Braves battlegroup first. Their transports comes forward, surviving the reactionary fire of the four Wolverines. The Haven gates materialize, allowing the Braves to be deployed directly into the building. This secures the building on my side of the table edge- and also plugs up the hole between the buildings with his APC Gates. Perfect placement means I have to swing wide of the transport, and cannot drop the Bears close enough to get the infantry into the building on this turn. The Condor survives bolts of anti-aircraft counter measures just missing its fuselage, and delivers the Bear APCs to the ground, which roll up to the building.

Merek's Tomahawks take two shots at the front APC, and one at the hull-down one behind. Two 1's mean he only lands the one shot on the front one, but in the wreck both units are destroyed. I activate my Armor Battlegroup, and my Sabre unit Condor flies just within range of his anti-air unit, which miraculously land four hits on the Condor, with reactionary fire, with cover form the building, midflight. The result of the dropship destruction is that it explodes in the air, destroying all of the Sabres. The Wolverines, having fired already, move forward to make sure they are beyond the midpoint, so they can't be killed for cheap points. Not a very good round of luck for me, loosing a two infantry units and three Sabres still embarked.

Turn 3, Merek wins initiative (in part because tiny pieces of my overpriced Sergeant are still dropping to the ground from the in-air explosion), and activates the Tomahawks first. They cut the Bear APC to ribbons, killing one of the infantry units in the process. My activation is to then hustle my remaining infantry into the building to secure it, finally getting some points on the board. They may or may not have been yelling "We're all gonna die!" on the way in- reports are unconfirmed. The Condor, not having any weapon upgrades, sails harmlessly (yet hopelessly) deeper into Merek's side of the table.
 Merek moves his Kukri unit across the table (having pretty well done their job), and the Wolverines cross the midline and drop the gate. Which lands on two of them. But they're small and agile, and deftly dodge the falling alien machine. the Rapiers advance and try to take out a Tomahawk, with no luck. Merek's Coyote shoots one of the Rapiers, forcing it to explode.
  Turn 4, which is really just the beginning of the end. Concentrated fire on the Tomahawks from the infantry, Rapiers, and Wolverines to try to finish them off before they cross the table fails. The Tomahawk runs for the hills, and the Coyote blows up a second Wolverine.
 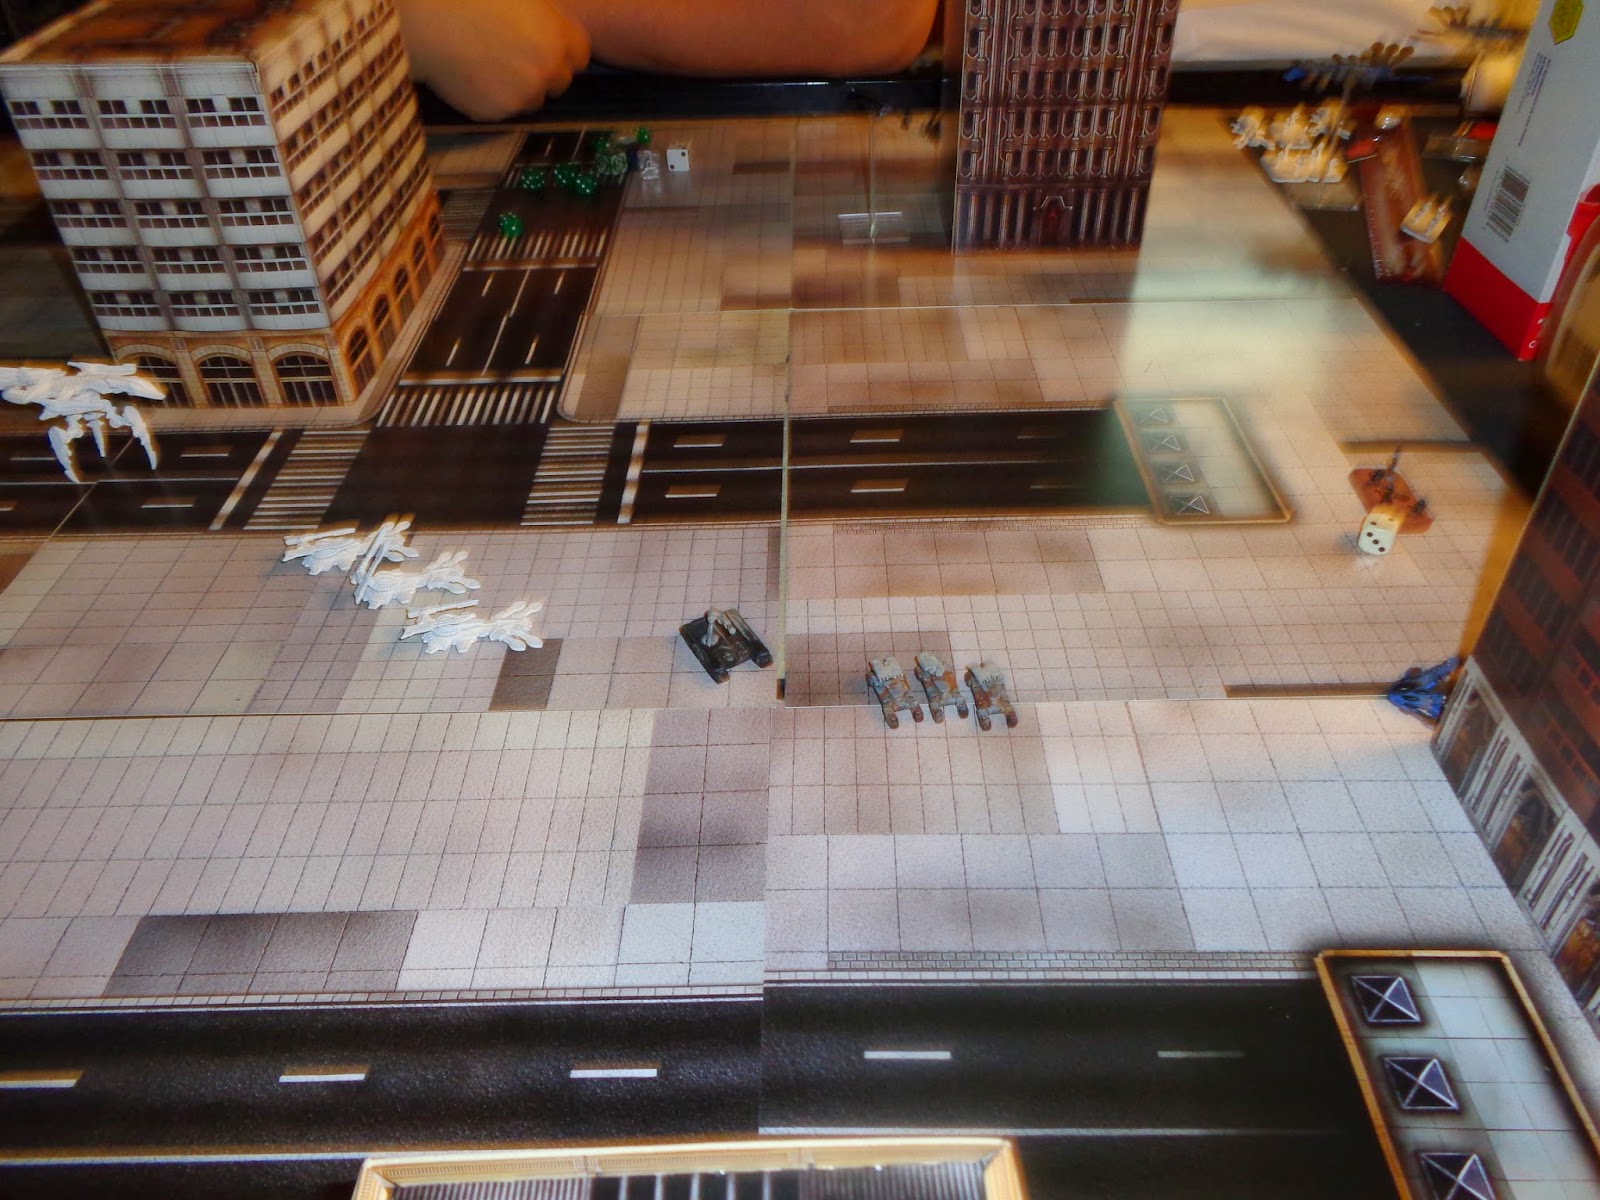 Turn 5 and 6 really just kind of blurred together in a flurry of ineffectiveness. I win initiative and attempt to blow up the Tomahawk mostly out of spite, not managing to drop it until turn 6. Merek takes all of his remaining firepower, and the weapons that managed to hit a streaking Condor snapfiring around a building can't seem to hit a building standing still. Maybe his weapons just don't hit buildings and skim along the bricks? Either way, they finally destroy the building, and the game ends in an obvious Shaltari victory, 90-384.
Overall takeaways of the game: I'm really starting to dig DZC, which is good because our group has half a dozen 1,000+ forces on the way. I like the fact that it moves and reacts like armor, not like "people in tank suits" like so many non-historic armor games. I'm still getting used to the scale, but Hawk Wargames did a nice job of making affordable available terrain (as B97 wrote about a while back), so it's not a bad startup.
Takeaways from the Shaltari: Their weapons are no joke, and operate very differently form the UCM and Scourge ones I'd studied. Which is good, it's really important for the different technologies to all feel completely different. The non-dedicated transports didn't bother me as I expected in this game, probably because in 6 turns there isn't going to be a ton of leapfrogging going on usually, and let's face it this one was over in turn two.
Takeaways from the UCM: You know, Wolverines are quickly becoming a go-to unit for me. Both loadouts have been really key in games, and if I build any terrain like this, then their mobility is going to become even more valuable. I'm a big fan of anti aircraft weaponry in this game (doubly so when fighting Shaltari because of their skimmer shenanigans) so the Rapiers stay really popular. I'm looking forward to having more of them on the table at the 1K mark. The Sabres have been hit or miss in games that they've survived (not holding this one against them), although I feel that they were well positioned and would have torn up my opponent still on his side of the table if they had lived long enough.
Well, that's one more game down., Liked it? Disliked it? See anything we messed up? Want to berate me for playing unpainted? Drop a comment below.
I'll see you on the other side of the table,
The Second Class Elitist
No comments:
Post a Comment