I know it might seem that I never actually play. Most of our battle reports involve 2CE and his various opponents. Mainly that is a product of the club primairly playing in his house. but today was different, I, Belgarath97, got in a game against Merek, with an added bonus that we both played with new crews we both had interest in. For me it was Mei Feng, I'm really interested in her as a master so I can have another Arcanist option to go with Colette. Merek used Perdita, which would be a complement to his Hoffman crew. We got Standard deployment, with the Reckoning Strategy, and Power Ritual, Breakthrough, Vendetta, Line In the Sand, and Protect Territory Schemes. I chose Vendetta and Protect Territory, and chose one of my Rail Workers to kill his Hunter for Vendetta. Merek chose Power Ritual, which he revealed, and Protect Territory.
Here is the table:

Merek's Crew
Perdita
Nino - Hair Trigger
Santiago
Francisco - Wade In, Diestro
Papa Loco
Watcher
Hunter
Belgarath97's Crew
Mei Feng - Imbued Energies
Kang - Recharge Soulstone
Rail Worker #1
Rail Worker #2
Rail Worker #3
Ice Golem - Armor of December
Ice Gamin #1
Ice Gamin #2

Deployment broke downs into me trying a pincer manuever. I set the Ice Golem, Ice Gamin #1, Rail Worker #1 on my left flank. On the right flank, I placed Kang and Rail Worker #3, and in the middle Ice Gamin #2, Rail Worker #2 (shaded to the right flank) and Mei Feng. The plan was to use Mei Feng's ability to jump from construct to construct to get her to the flank that needed her the most. Merek set up with Most of his force on his right (my left) opposite the Golem, with only the Watcher and Hunter to my right. This pretty much decided I wanted to get Mei into that flank.

You see that open fire lane to Mei Feng? Yeah so did Merek, using one of his many shooting attacks (melee vs shooting, ouch!) to punk Mei from across the field. So she began her advance with about 1/3 of her health missing. I moved the Golem up into position behind a pod plant, and placed a gamin about half way between Mei and the Golem. Using her ability to jump from construct to construct I was able to get her into, what I thought was, a protected position behind the pod plant with the golem. I would be proven wrong later. I also moved Rail Worker #3 up the right flank, as my chosen model to kill the Hunter.


Almost as if Merek knew my right flanking force wanted his Hunter dead, he moved the hunter up the field toward the center. Using Perdita to place a scheme marker in his left corner, I realized that I needed to use Kang to stop the Watcher, when Merek flew him up my right flank. Merek was already making a strong play toward Power Ritual. While this would probably waste him for the rest of the game, I needed to stop power ritual.

Mei's jump sequence...
Like I said I thought she was protected. I was wrong. Perdita was slightly elevated, and from her position she could still see Mei. So after the smoke cleared, Mei was down to about 1/3 of her starting wounds left. Not a great start from my melee killing machine. When Merek moved Papa Loco and Francisco up I used Rail Worker #1 to jump Mei from her cover into Papa. That's when I learned why he's loco. Mei ate him for breakfast and then got exposive gas. Literally. Cause he blew up, killing Mei and wounding but not killing Francisco. I would also lose Rail Worker #1 to shooting. And Merek would gain the only point scored from the Reckoning, all game. While many things died this game, this would be the only turn that either of us would kill two models during the same turn.

With Mei dead, and Kang way out in east ja'bip, aka the right flank. I teied to advance the Golem forward, and that was all he could do as shooting took him out. With my entire fight flank decimated, I instead took to trying to get Rail Worker #3 all the way from the right flank into the Hunter to kill him off. I sent the Emberling into combat with the Hunter, trying to keep him in place. I used the Ice gamin to plunk off a coupl of wounds, and finally got him almost dead, when Merek shot at the Emberling, missed and killed the hunter himself. Just before I charged with Rail Worker #3. I swear he knew!


I tried a brave advance in the face of Ortega shooting, and first the Emberling, then Rail Worker #2, and then Ice Gamin #1, and #2 all died trying to get to the line. I imagine it was like the scene from Saving Private Ryan, storming Normandy, watching as each member of the crew saw the man in front of them cut down in a hail of bullets. As Kang killed the Watcher, walked just far enough to be outside the minimum amount, to drop a scheme marker for Protect Territory, and watched the blood shed.
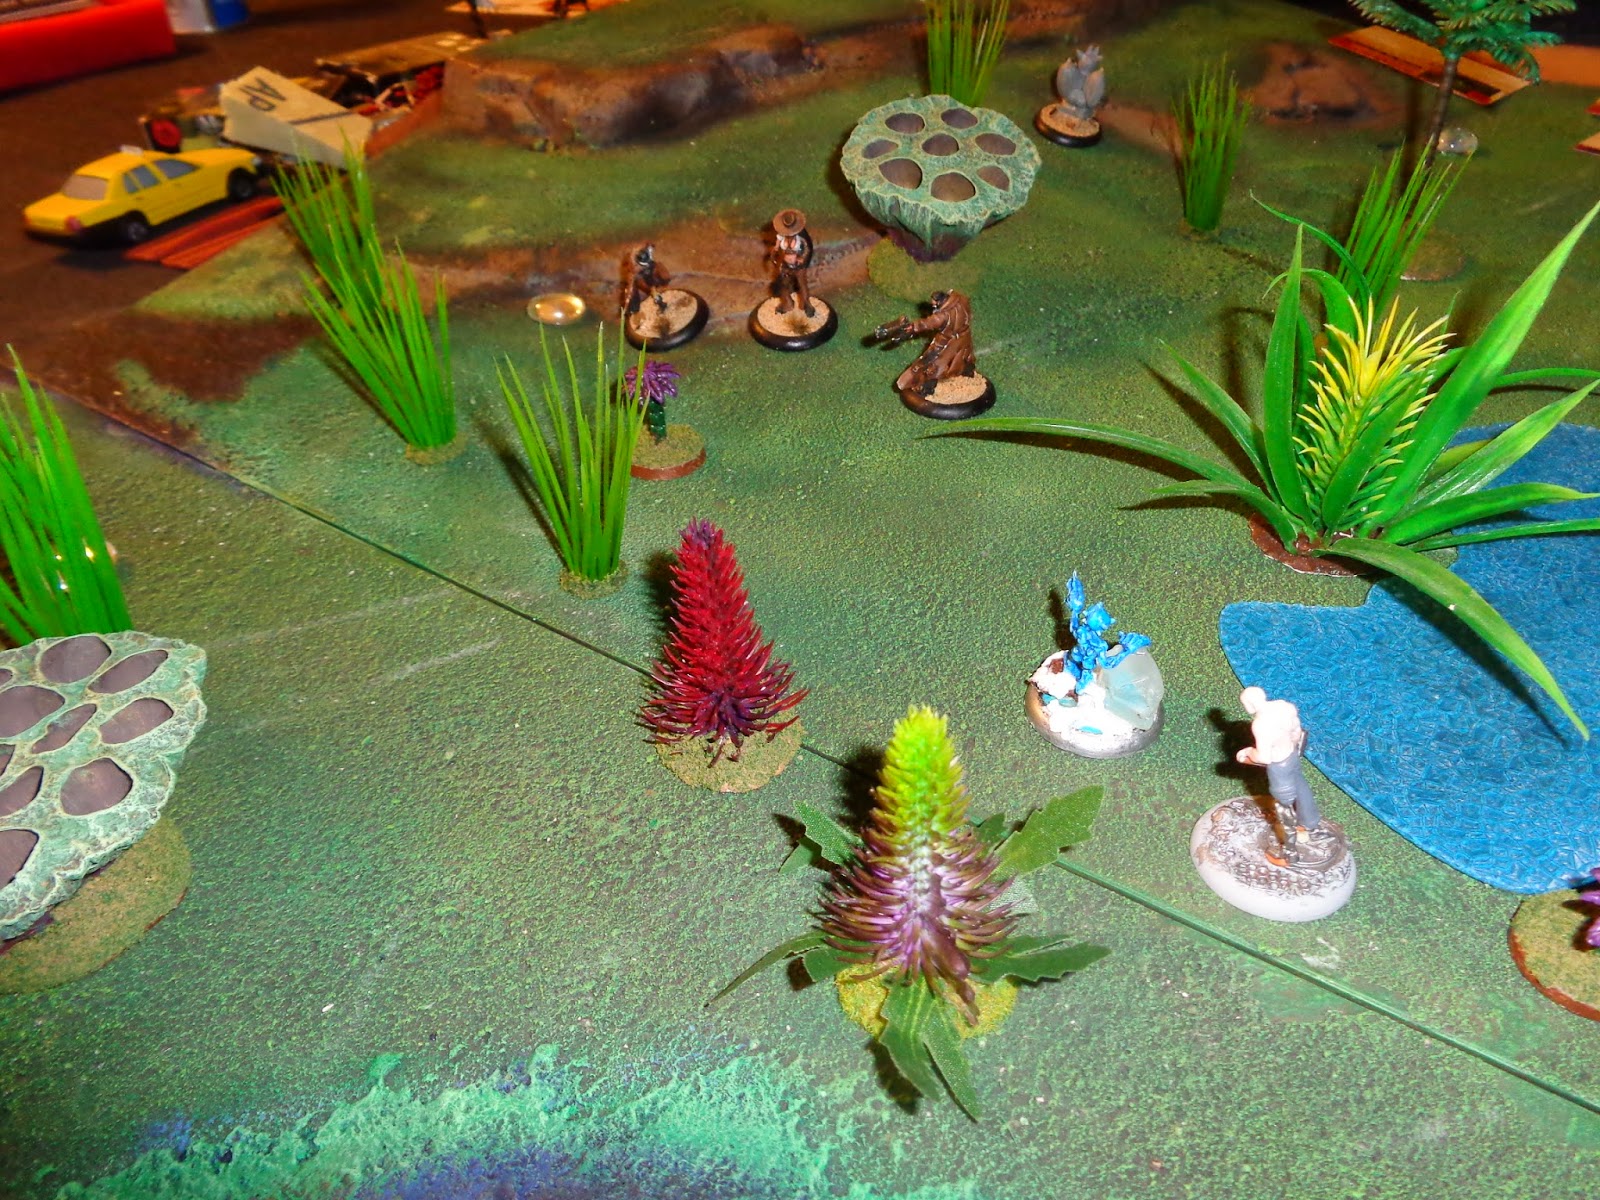
These last 2 images are how the game ended. Rail Worker #3 facing down Perdita, Nino, and Santiago. Kang sitting next to his scheme marker, securing my victory points. It ended in a 2-2 tie. Kang got me the 2 points for Protect Territory, but I failed to score a single other point. Merek got one point from Reckoning, and one point from Power Ritual. He forgot to drop another one for Protect Territory as I made my advance.
All in all, Merek and I had a fun game. I learned some valuable lessons. Not the least of which is, Mei Feng is a glass cannon. I need to learn to protect her, or else she ends up only killing one model, and her combat skills are better then that. Also, a melee-centric list against a shooting one is tough, if you don't close fast, you never get there. I'm staring at you Ice Golem. Finally, while Kang secured me the tie, his points and abilities were wasted on the right flank. I need to keep him more into the action.
Well I hope you enjoyed this learning mission for Merek and I, and until next time...
Belgarath97


 Merek's Crew
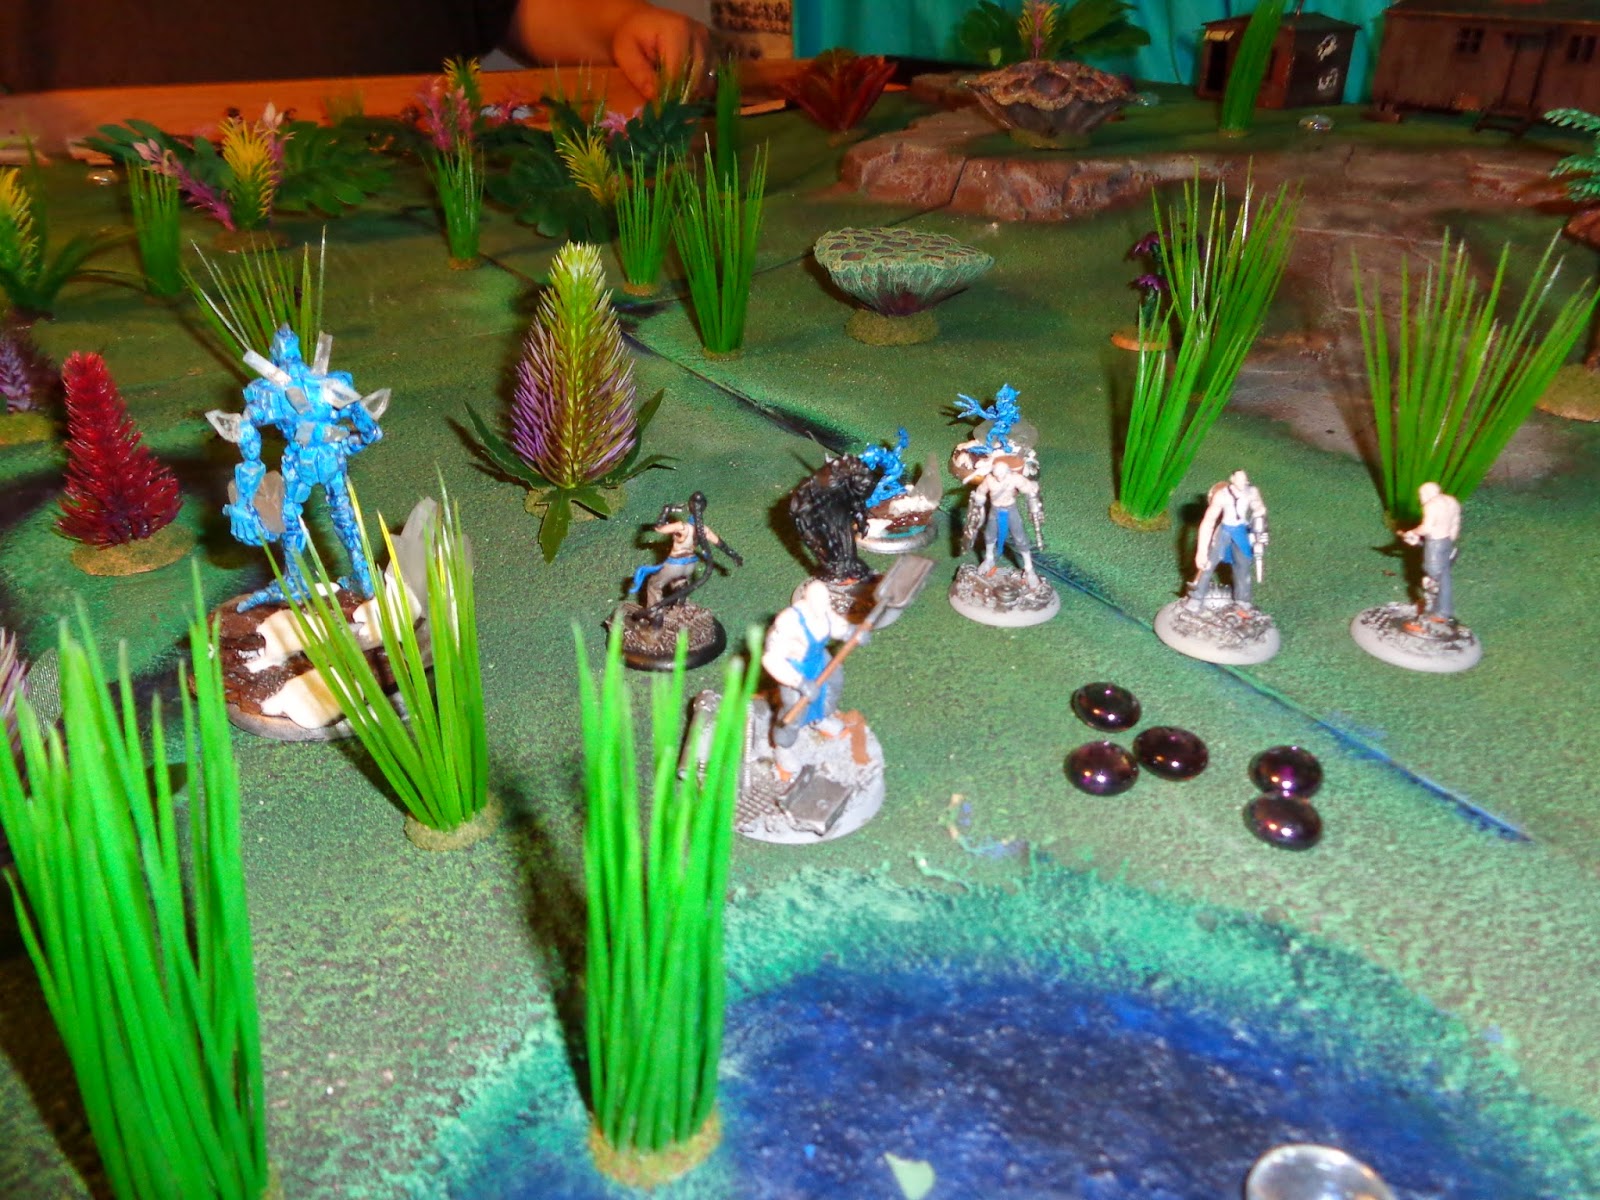
 Deployment broke downs into me trying a pincer manuever. I set the Ice Golem, Ice Gamin #1, Rail Worker #1 on my left flank. On the right flank, I placed Kang and Rail Worker #3, and in the middle Ice Gamin #2, Rail Worker #2 (shaded to the right flank) and Mei Feng. The plan was to use Mei Feng's ability to jump from construct to construct to get her to the flank that needed her the most. Merek set up with Most of his force on his right (my left) opposite the Golem, with only the Watcher and Hunter to my right. This pretty much decided I wanted to get Mei into that flank.


No comments:
Post a Comment